Winter Break 2009 Project
Effort: Approx. 25 hours
Ahoy! You're probably here because you've heard about my hourglass. Or else I made you read this because this is my project. Here's a little background.
Some time ago, I'd decided to make an hourglass out of something. Just one of my numerous crazy ideas. Unlike most of my ideas, which never get done, I decided to use Winter break to actually accomplish something. Though I started partially at school, I completed the brunt of the work in New Jersey at my partner's house, where there are tools aplenty. What follows is a rough bit of information on what I did and how I did it.
|
|
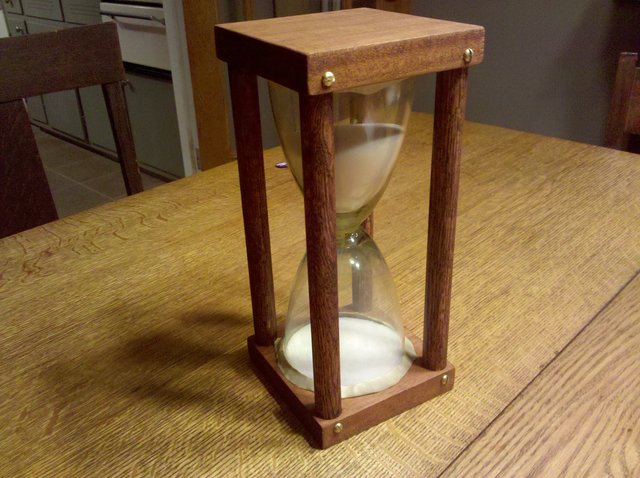
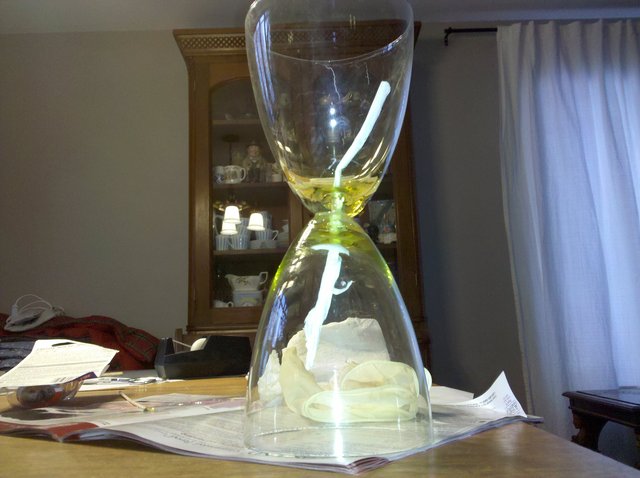
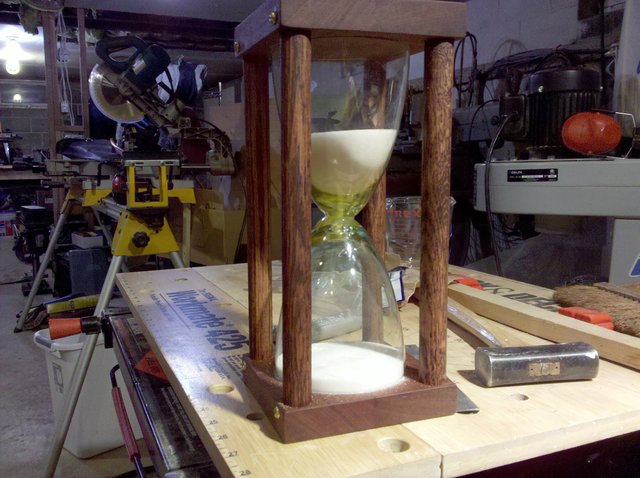
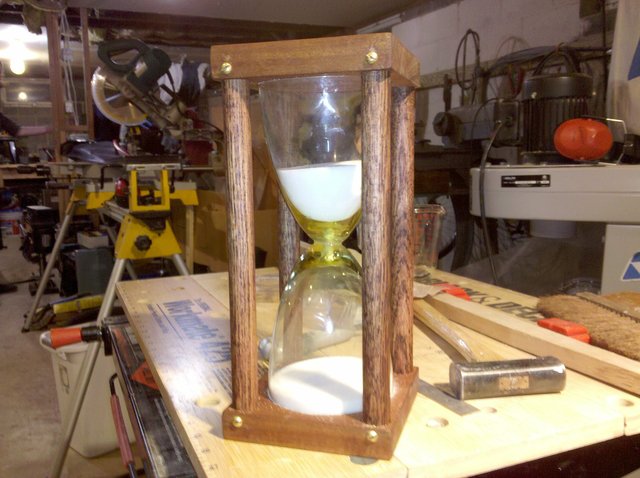
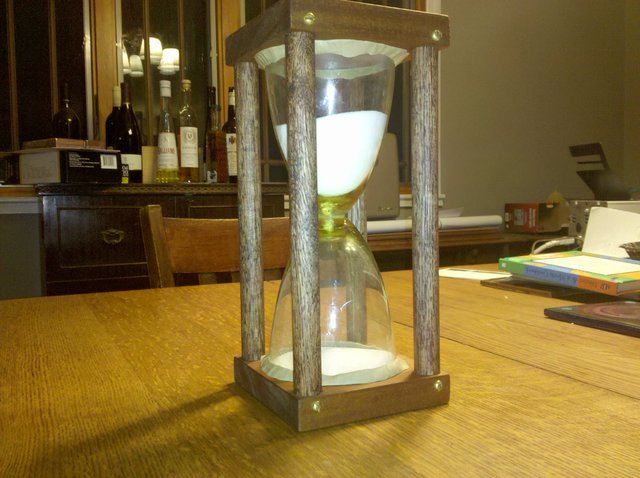
The Finished Product
|
The body of the hourglass is composed of two cheap ($1.50/ea) wine glasses I bought at the local Goodwill. They have a hole through the center of them and are epoxied together. I used two pieces of maple for the bases and four pieces of oak dowel for the columns. The columns are screwed into the bases with brass screws. That's it. Easy.
Stage 1: Preparing the Glasses
Effort: Approx. 5 hrs.
The first step is to prepare the glasses for the future. To whit, cut off the bases and drill a hole through the center of each glass.
Cutting the bases is really easy, and can be done in several ways. I pretty much exploited the shearing nature of glass and I gently use a cylindrical diamond coated bit around the stem. Simply grind the stem where it reaches the bowl of the glass and the whole thing should just snap off.
After you shear the stems, go ahead and flatten the rest of the bottom of the bowl with something like a wet-saw. I don't have pictures from this part of the project: use your imagination. When the bottom of the bowl is flat enough, go ahead and bring it over to your favorite drill press.
|
|
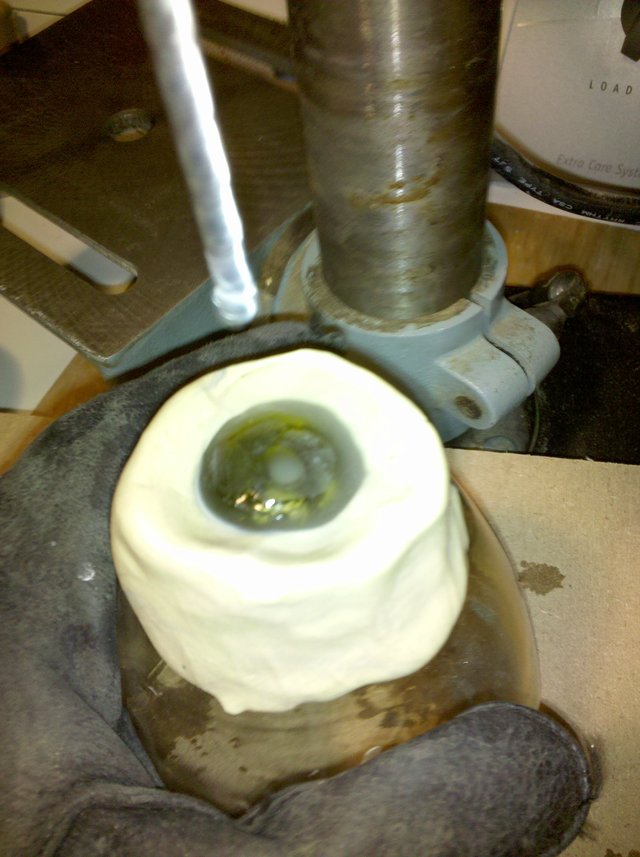
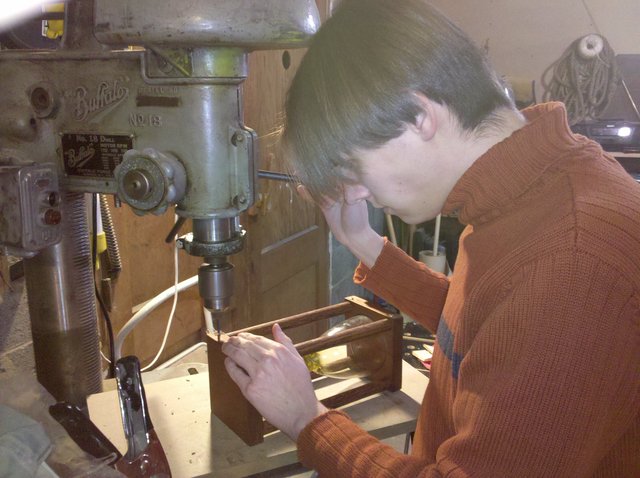
Starting the drilling.
|
You're going to now carefully drill through the glass in the middle of the glass. You will need a diamond or carbide tipped grinding bit and put it on your drill press. I used a cyllinder bit with a flat tip the slowly grinds the surface of the glass I'm working on. The key here is to grind and not drill because if you try to actually drill the glass, you're going to end up breaking it. I used a 5/16" bit, but I found that this made FAR too wide an aperature, so go down to something like 3/32" or so. I can't say which size is best to get an hour since I didn't do the math, but I can say the 5/16" is much to big.
Note: you do not need to be perfectly in the middle of the glass when you start working. Any deviation can be corrected later, and as long as the glasses are fairly even with each other, you'll be fine.
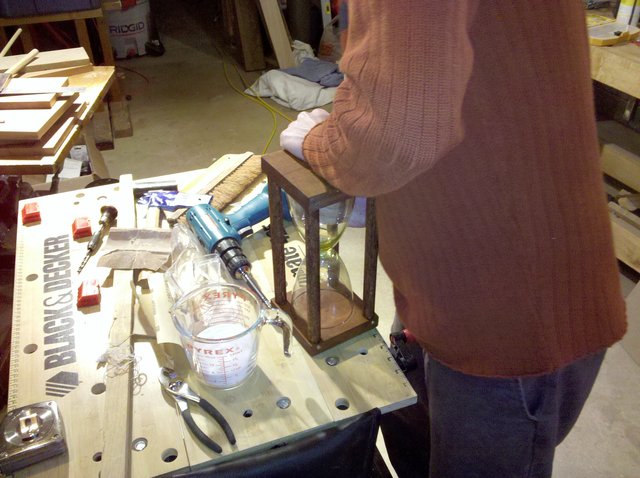
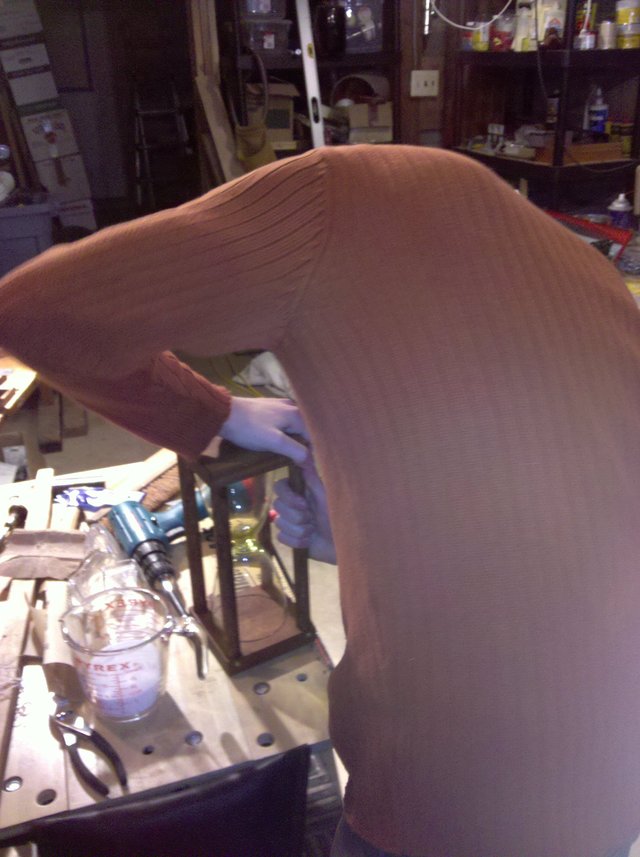
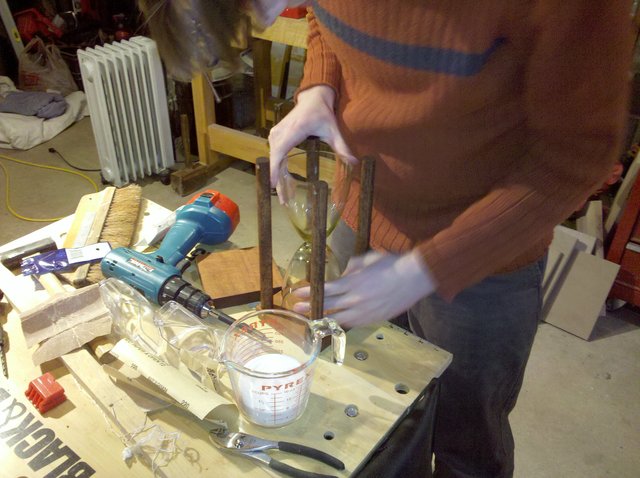
For this step you'll also need some putty or clay (I used plumber's putty) and some water. Glass has a habit of cracking from thermal shock when it heats up unevenly, so if you do not provide some method of lubrication, the glass will break on you. Simply form a little resevoir filled with water around the drilling location. As you grind the glass, the water will cloud and heat up. Simply flush the glass every so often with clean water and make sure the glass is not getting too hot. If it is, just run it under some water for a bit to cool it down. Go slowly in the grinding, as you don't want to risk breaking the glass. It took me about two and a half hours to grind through each glass, so bring a movie or some music.
When you get to the very end of drilling, you may unexpectadly break through the glass. This happened to me twice and is pretty much the glass shearing when it gets thin enough. This is a good thing, though, since that's work you don't need to finish. Make sure, though, that the drill bit goes straight through and don't leave jaggies.
|
|
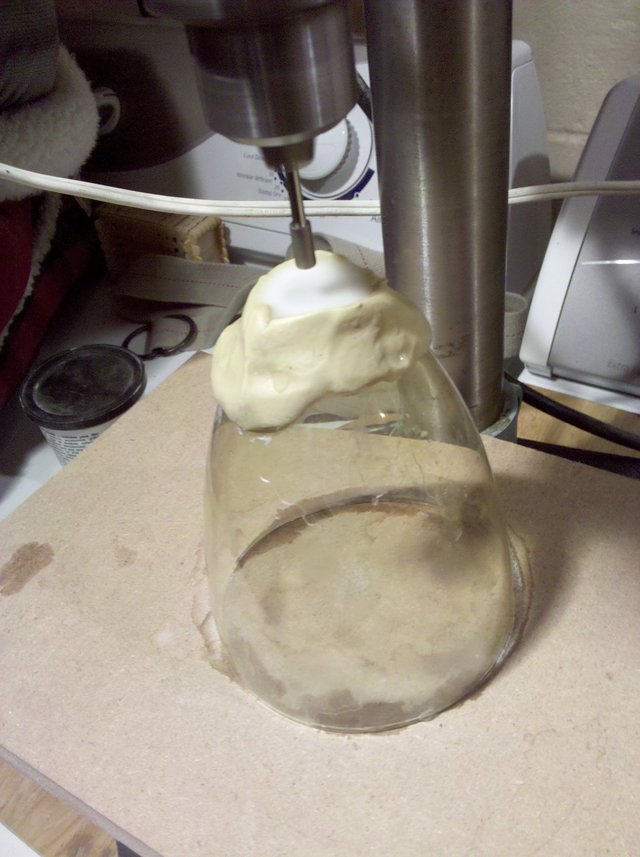
Drilling through the glass.
|
|
|
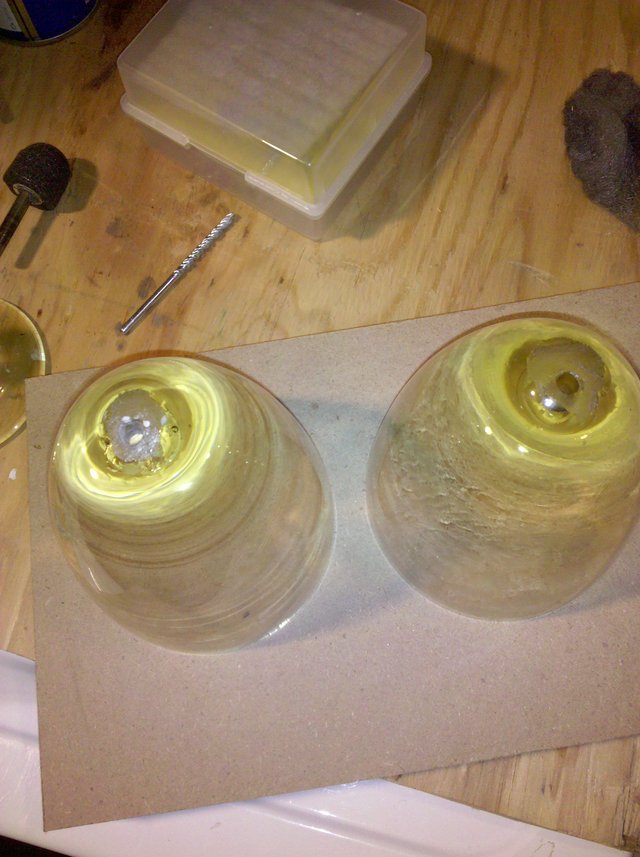
The two glasses fully drilled.
|

|
|
Head on view. Clean through.
|
Stage 2: Gluing the Glasses Together.
Effort: Approx. 1 hrs.
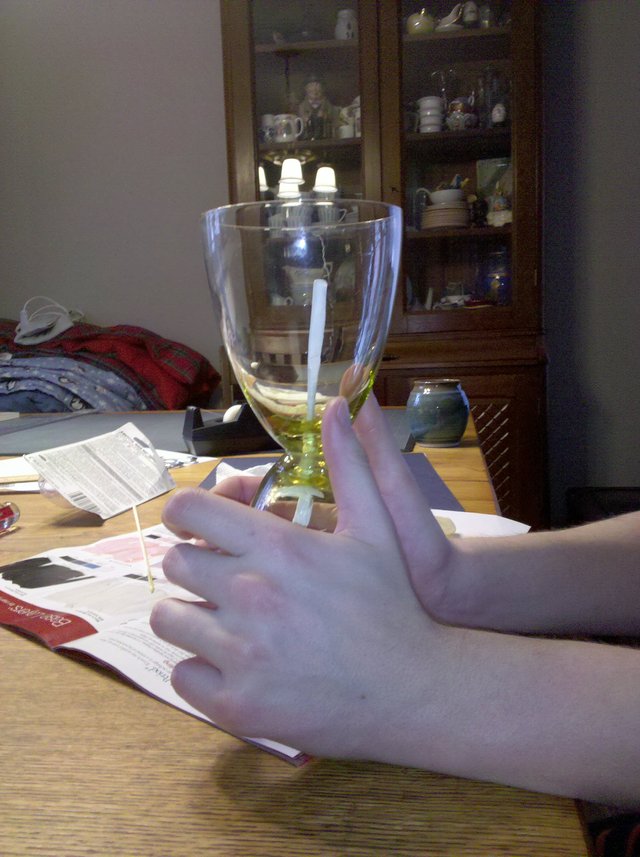
After you're done drilling and making sure the aperature is clean, you're going to be joining the two glasses. I used epoxy, but I'm sure there are other ways of doing this, even going so far as to melt and join the glasses. Whichever.
Firstly, prepare something relatively sturdy, but also relatively brittle to thread through the centers of each glass. You want something to just take up enough space to make sure the holes will go through and through, but nothing that will be impossible to remove later. I used wax paper bundled up so that after I epoxy the glasses together, I will be able to clean out the paper easily without having to drill through all of the epoxy again.
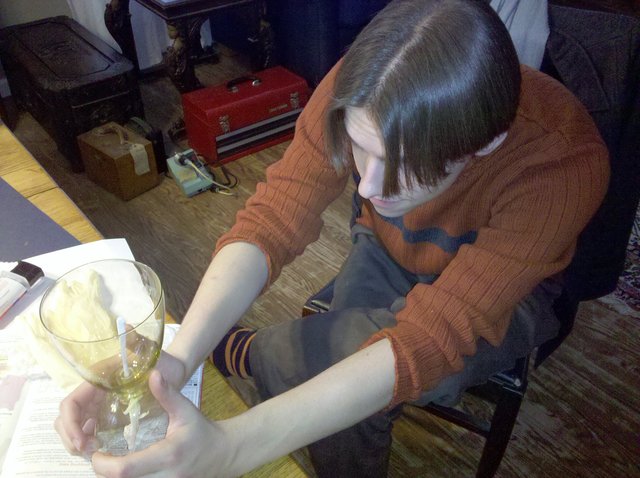
Set up on a flat surface with the paper inside the two glasses and find the angle where the glass seems to rest easiest. Mix and apply the epoxy liberally entirely around the point of contact and a little on the outside so that you get a very firm connection. After this, do your best to level the glasses and hold them in place. If you make a jig for this, it will be much easier, otherwise rely on a bubble level and a couple of steady hands to hold the glasses for a LONG time, until the join is pretty much permanent. This is an annoying part of the project, but at least it's easy.
|
|
Hold until the epoxy sets.
|
|
|
Annoying.
|
|
|
A little longer...
|
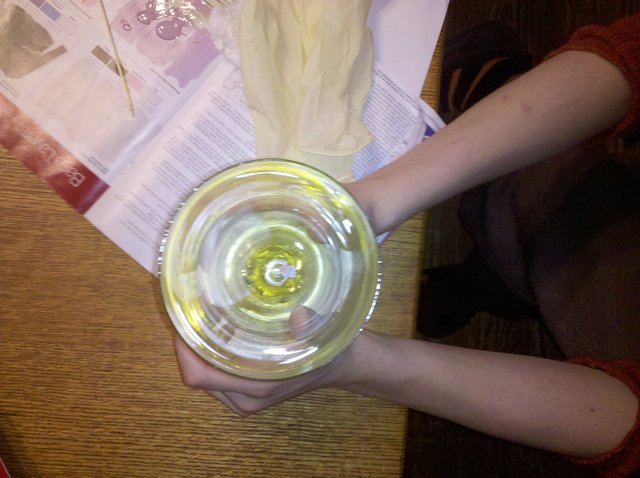
Every so often, let go of the glass to judge how set it is. You have a lot of wiggle room at the beginning to make sure everything is level, so don't negelct to recheck your level every so often. I also recommend turning the glasses over at some point so the epoxy does not all flow down one glass. If it's going to flow down the glass, make it symmetrical.
You can remove excess epoxy in the may have smudged your class with a razor. Just scrape it off. I wouldn't recommend trying to cut off large chunks near the join lest you take too much off and are left with an ugly half-blob instead of a pretty regular blob.
|
|
Set.
|
When the glue sets, you should easily be able to tell if you had a level set by rolling the glass along a table. If the combined glasses wobble, then you messed up a little. If it rolls straight, then you're good.
Stage 3: Design, Measure, and Cut
Effort: Approx. 16 hrs.
The longest step (for me at least, which included discussions and Home Depot trips) was the construction of the bases and rods. Don't rush any part of this process or you're liable to create a bad fit or otherwise have an incomplete hourglass. By no means feel the need to follow my direction to the letter, this is just what worked for me.
The Base:
We're going to first make the two bases. I used some maple that used to be a table or some such. I planed off the top layer and cut the pieces into a workable size, but have not cut the final size out. Maple is a beautiful wood and the way the reddish wood reflected the light was dazzling.
Note: don't choose wood that's too thin or you'll have trouble securing the glass and rods to the base.
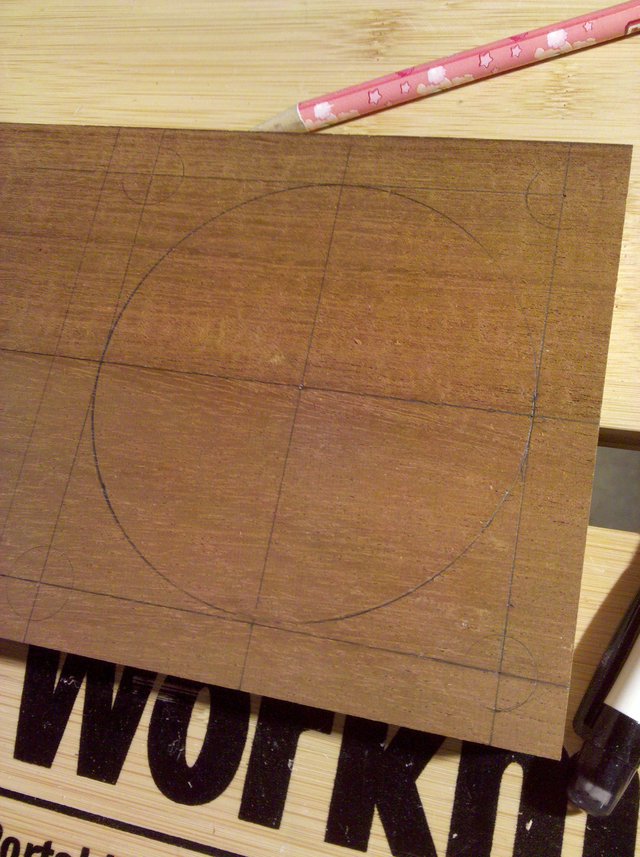
I spent somet time here working out my method, but the following are the steps taken towards the final product. I made many measurements of exactly how much space I would need and how thick I wanted the rods to be. Carefully mark out the lines you need. Also draw out some lines over the edges where you will be putting the screws. The idea is that you're going to stick the rods into a blind hole of the base and then securing them with brass screws from the outside. Make sure that you draw out how far the rods will go and make sure there's enough depth so that the screws are firmly in the rods.
|
|
Close-up of sketch. Pink pencil is a must.
|
|
|
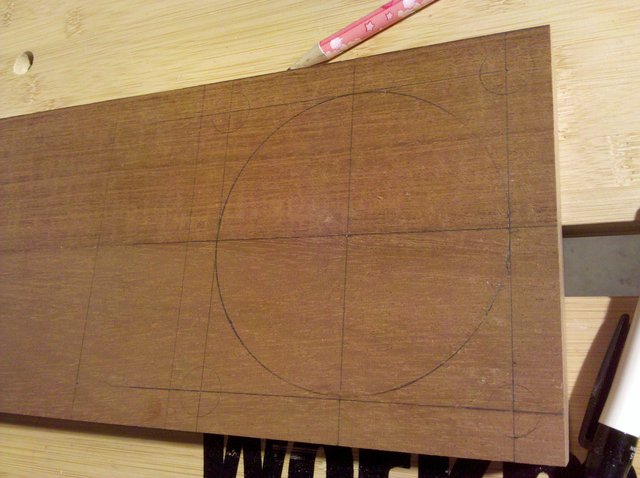
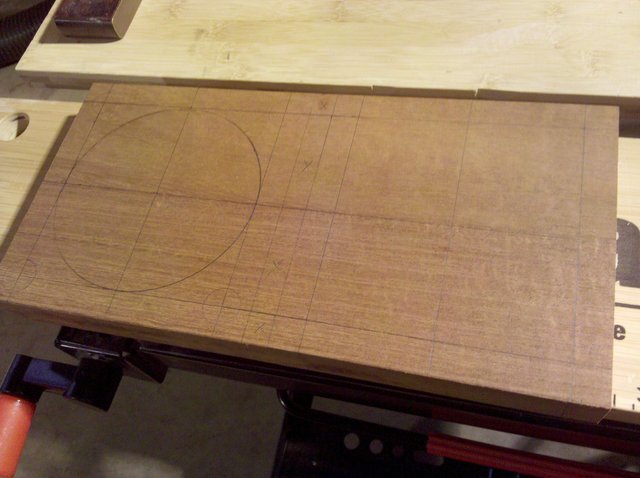
More drawing.
|
|
|
View of both bases on one board.
|
Note: you do not need to add the circles. They just helped me visualize where exactly the glass and rods would be on the board.
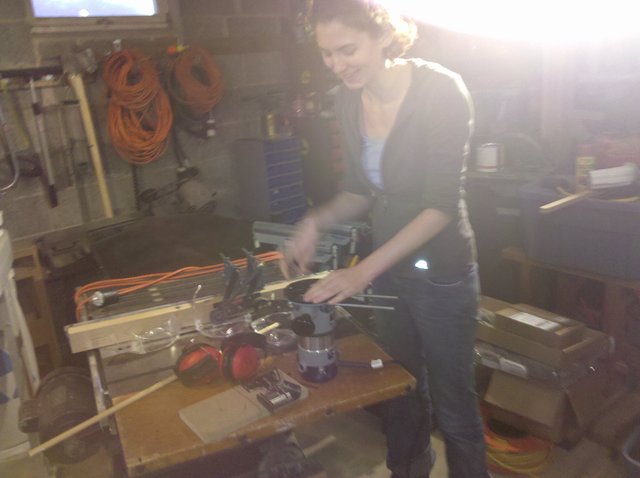
Next, you're going to use a router to carve out a recess for the glass to sit in. I don't really have many details for this process since I wasn't really paying attention. Partner's dad really helped out on this one since I've never used a router. First you need to drill a hole in the center of the board so that the router has a pivot point. You can use the excess wood you have left to make a plug to fill in the hole. Then align your router to the exact radius you need and start carving. You don't want it to go too deep, but give yourself a good bit of depth so that you can then plug any holes you have. I did not make this deep enough and I have leaks all around the bases. This I ammended (temporarily) with plumber's putty, but I may redo the routing at another point.
Note: routers are loud. Wear proper hearing protection. I do not even need to tell you at this point to always wear proper eye protection. Jill didn't wear safety glasses, now she doesn't need to.
|
|
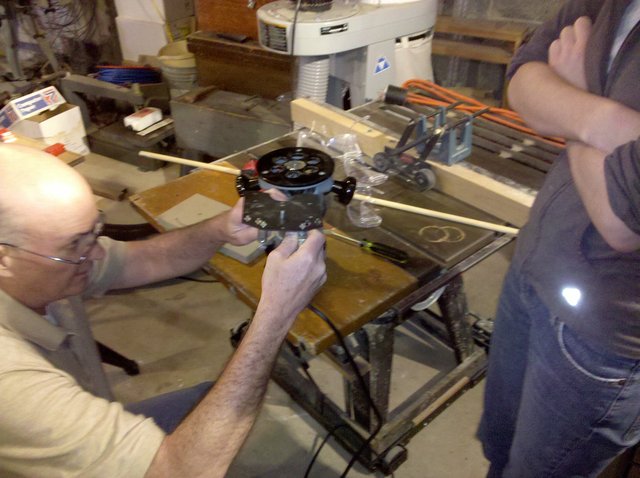
My gorgeous assistant.
|
|
|
And her dad.
|
Go ahead and try the fit. If it doesn't quite fit, use a hand-carving tool to make the fit better. Notice the dowels in the next two pictures, they're next. Before that, though, get a wood hole saw and drill out holes the size of your rods and approximately 3/4ths of the way through the board. I made four rods for the hourglass, but you could verily use three. Don't use rods that are too thin, as you definitely need them to be your support structures. These are the parts that need to survive a lot of abuse.
|
|
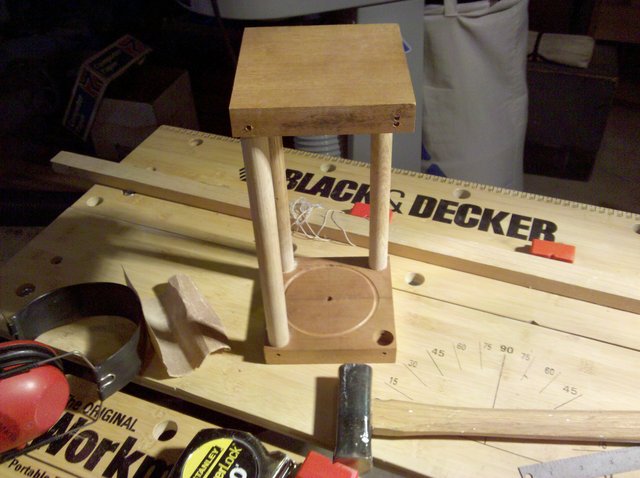
Bases cut out and fitted.
|
|
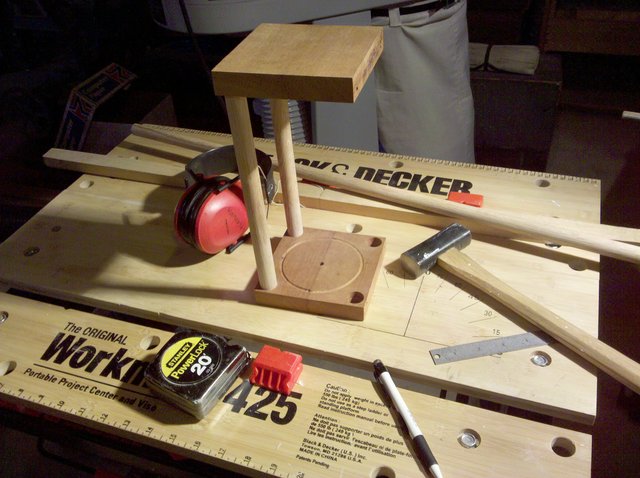
|
You can see the router pivot hole here.
|
The Rods:
I went to Home Depot at this point and bought a few lengths of oak dowel, but I would have used maple if I could have found it. It's also very possible for you to use a lathe at this point to turn out some dowels of your own. Or if you have time, go ahead and carve out a spiral to make the whole thing stand out. If you're really not busy, you can carve out images in the hard wood to have caryatids holding the bases, or some such.
Cut the dowels to size and sand the ends so that they SMOOTHLY enter and exit the holes. Test every hole. You really don't want to be struggling to remove the rods when the glass is in there and might get jostled and broken when you wrench the whole thing apart. A little sanding here will help. Anyway, just cut all the dowels to size and make sure that the bases are level, that the hourglass fits in its recesses and that you have enough leeway on each side of the dowel to shove a screw through it.
|
|
Getting there.
|
|
|
Almost.
|

|
|
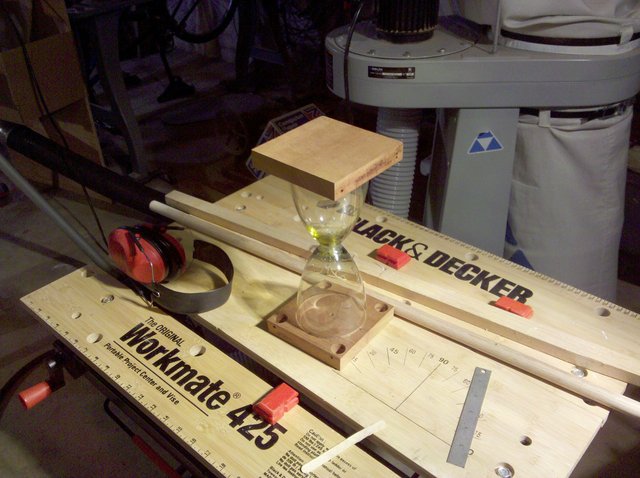
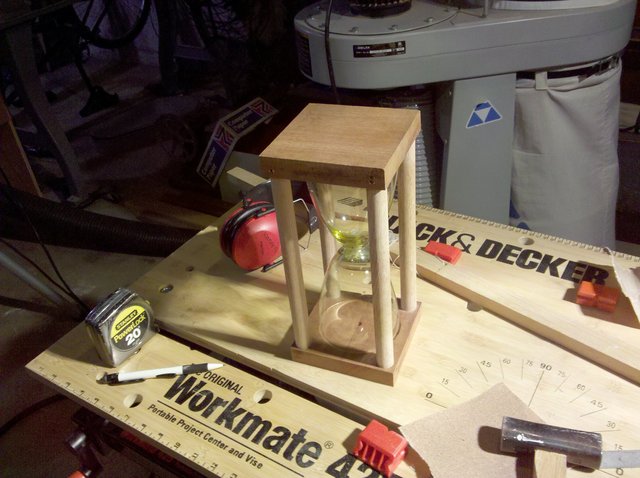
Fancy cage.
|
|
|
Boom! Now that's an hourglass.
|
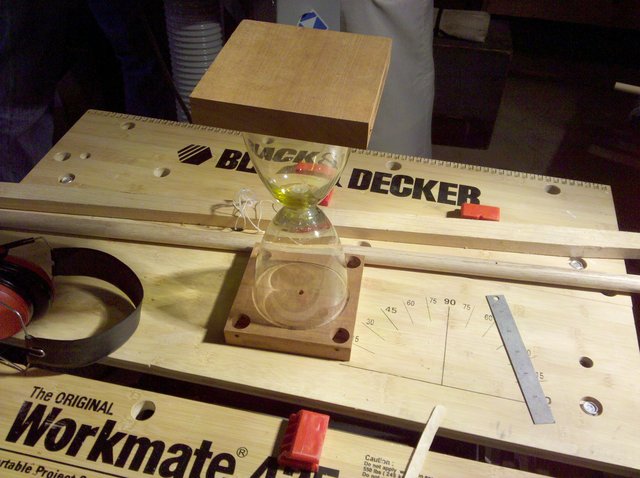
|
|
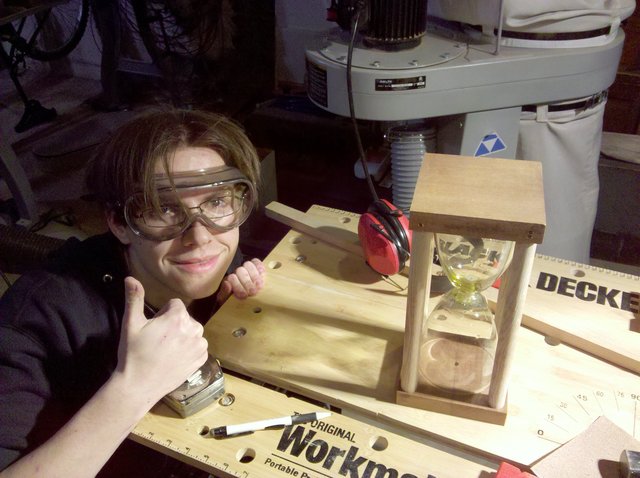
I was quite happy at this point.
|
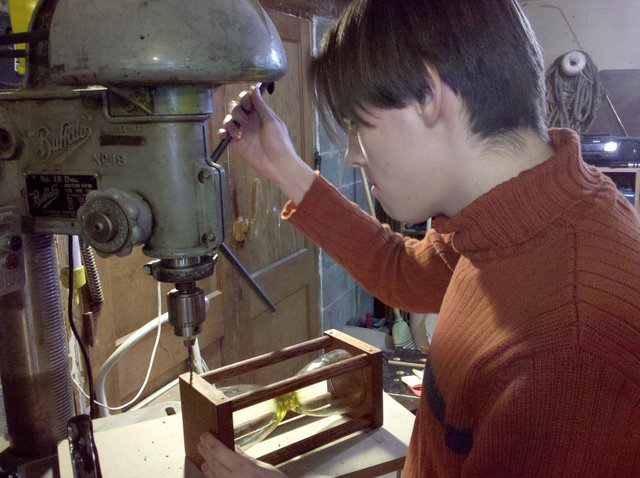
At this point, go ahead and carve out a few pilot holes through the dowel and a little past it. These should be smaller than the size of your screw so that when you go to screw in, you have an easy time getting in, but have wood to catch on to thead through. The hole in the dowel, however, can be full size, since you don't need threads here. It will be the screw going through that holds the dowel, not the threads.
|
|
Drilling some more.
|
|
|
This is a Buffalo drill press. Buffalo buffalo buffalo buffalo.
|
Stage 4: Finish Up and Assemble
Effort: Approx. 2 hrs. (plus stain drying time)
Staining:
Now that you are sure all of the pieces fit together, sand everything down really well. I stained the dowels and left the bases unstained. Together, the pieces looked good together. After staining, I applied a coat of clear beeswax sealant to protect both woods and the finish.
Assembly:
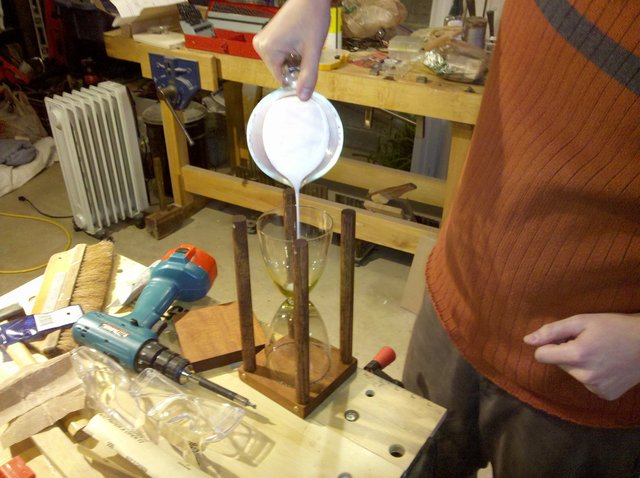
Now you're ready to put everything together. Make sure everything still fits and pop one base of the hourglass. Run the glasses through your drill press with the grinding bit again (or use a dremel.) This is to make sure you have a definitely clear flow and that you didn't have any epoxy blocking your hole. At this point, try and fill the hourglass with some sort of sand. I used salt personally, but anything regular will do. Beach sand is a bad idea, as it is not very regular.
Here you just want to make sure you have an even pour through your hourglass. I did not do this and so my hourglass kind of messed up (for now; will fix later.) Also, if your glasses are like mine, they will be much too flat at the bottom of the bowl and you may need to take some time to grind the bottom of the bowl to make a steeper entrance into the hole, otherwise you're liable to have sand get stuck in the bowl and not flow through. This is bad. Mine still does not keep consistent time, and I drilled my hole too big and had to put a dowel with a hole in it to limit the speed of time. When I resume this project, I will fill the hole with epoxy and carve out a smaller hole through that.
In any case, pour in your sand and let it go. Close the base. Check to make sure you don't have any leaks. If you do, add some putty to the recess. If you're comfortable with the time the glass keeps and the leaks (or lack of) then attach the screws and enjoy your brand new hourglass!
|
|
Wood all stained.
|
|
|
Remove top.
|
|
|
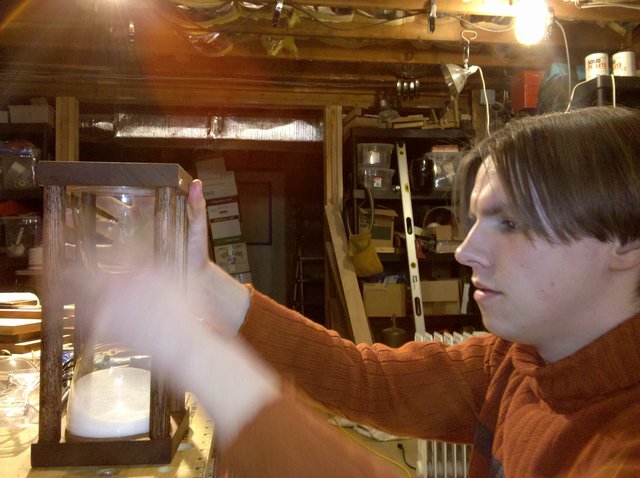
Ready your hourglass.
|
|
|
Pour your sand/salt.
|
|
|
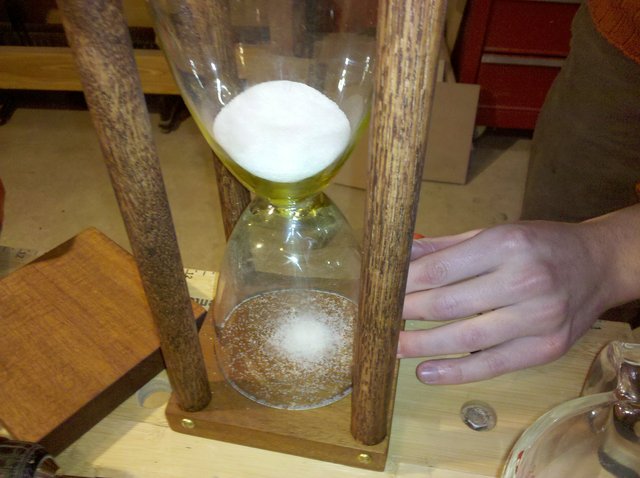
Success!
|
|
|
Reattach bases.
|
|
|
Attach screws.
|
|
|
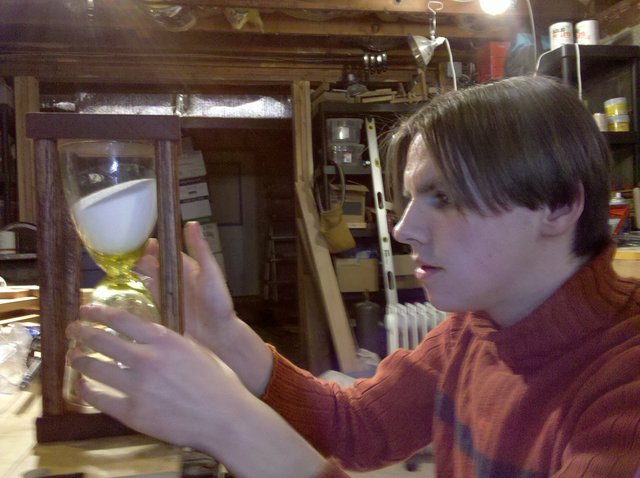
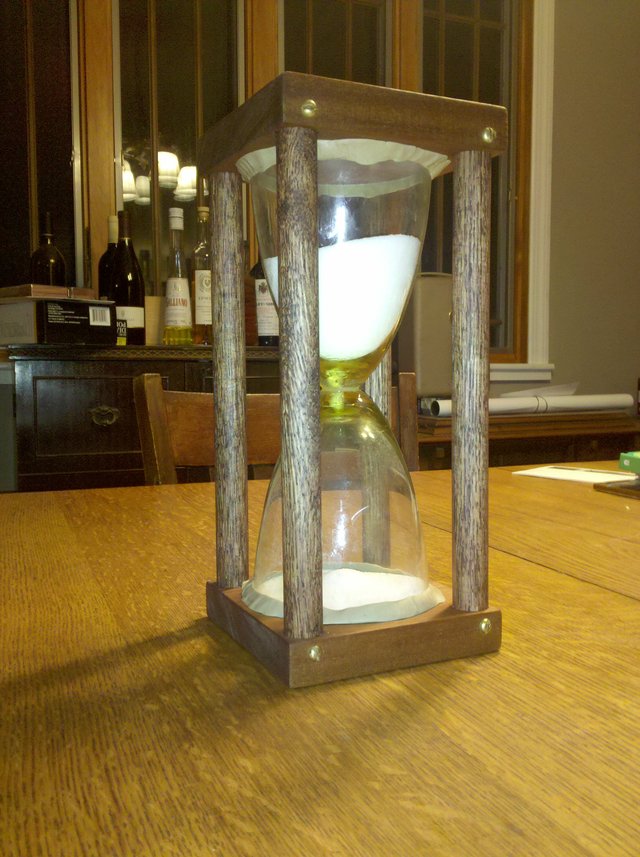
Fine looking hourglass.
|
|
|
Better light.
|
|
|
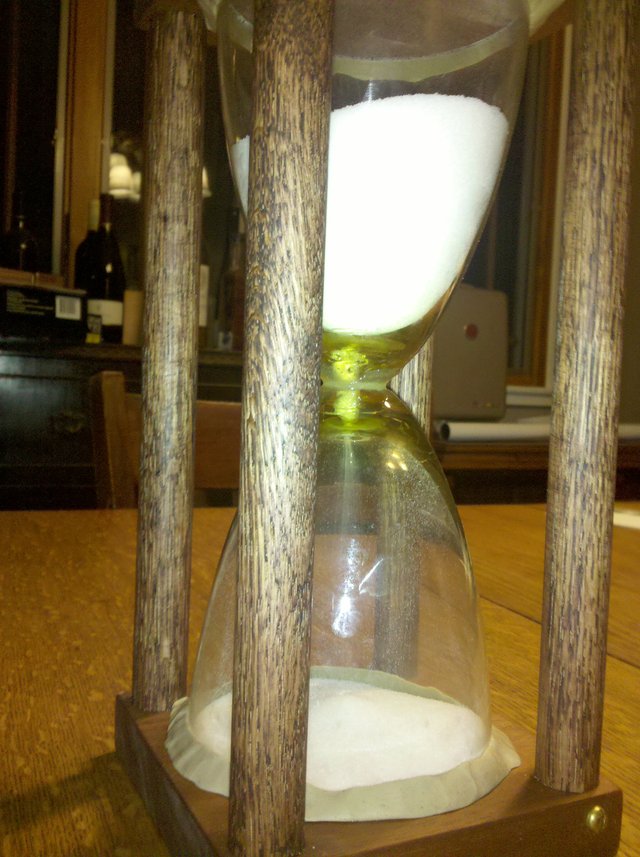
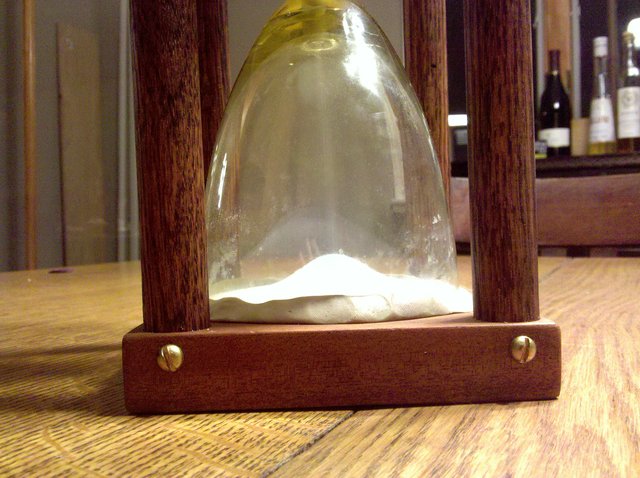
Close-up on pour and un-neat putty.
|
|
|
Sure looks good, though.
|
|
|
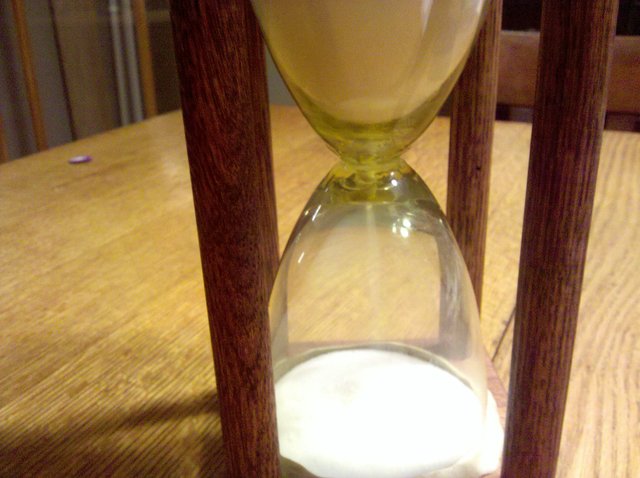
Has a nice greenish tinge to the glass.
|
|
|
|
Good shot.
|
|
|
More pour action.
|
|
|
Close-up on screws and base.
|
For those wondering, shortly after completing the hourglass, I gifted it to my partner's parents who have been absolutely awesome to me. They help a lot in this and many other things and I thought that they would like it. I planned to make three hourglasses over break, but that was pretty much impossible. Soon, there will be a second hourglass.